
 |
| This post was created in Partnership with The Star Movie (Now In Theatres) Product and Giftcard were provided. Opinions are 100% our own. |
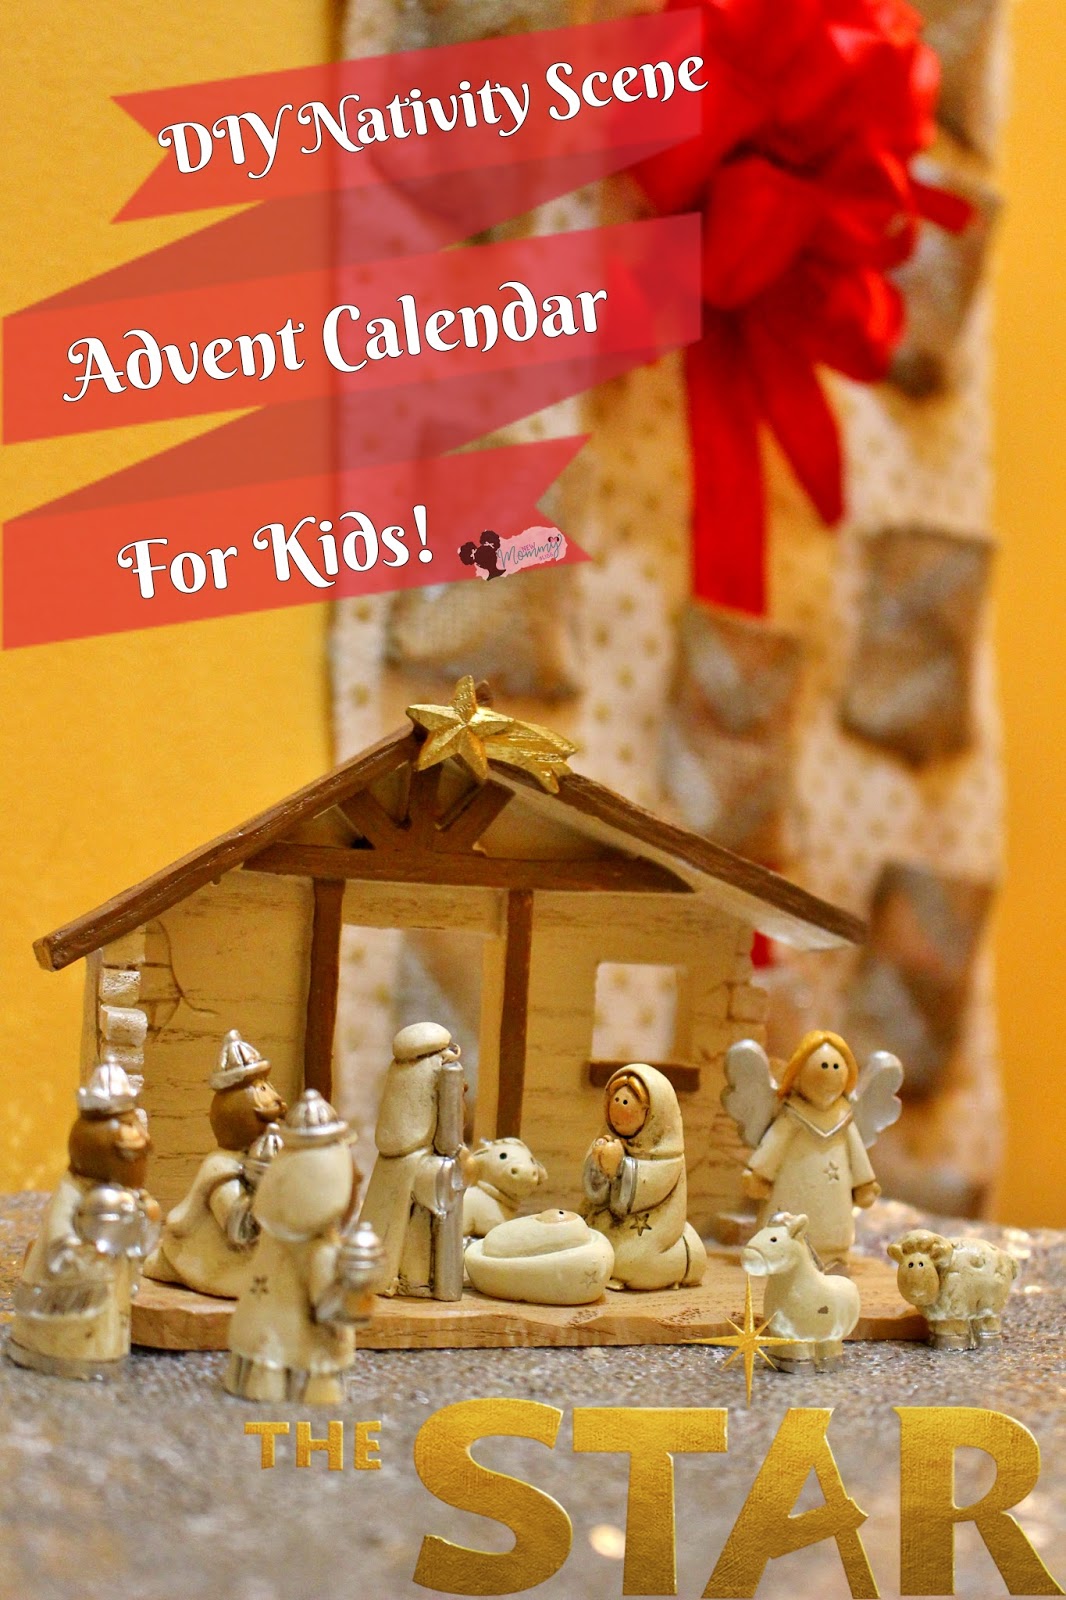
In honor of the brand-new movie, The Star, We decided to bring you a super cute DIY Nativity Scene Advent calendar that’s perfect for the kids. If you purchase the little kids nativity set, A few trinkets, and a few pieces of Candy, You’ll have the very best advent calendar ever. First things first… Have you heard of The Star?
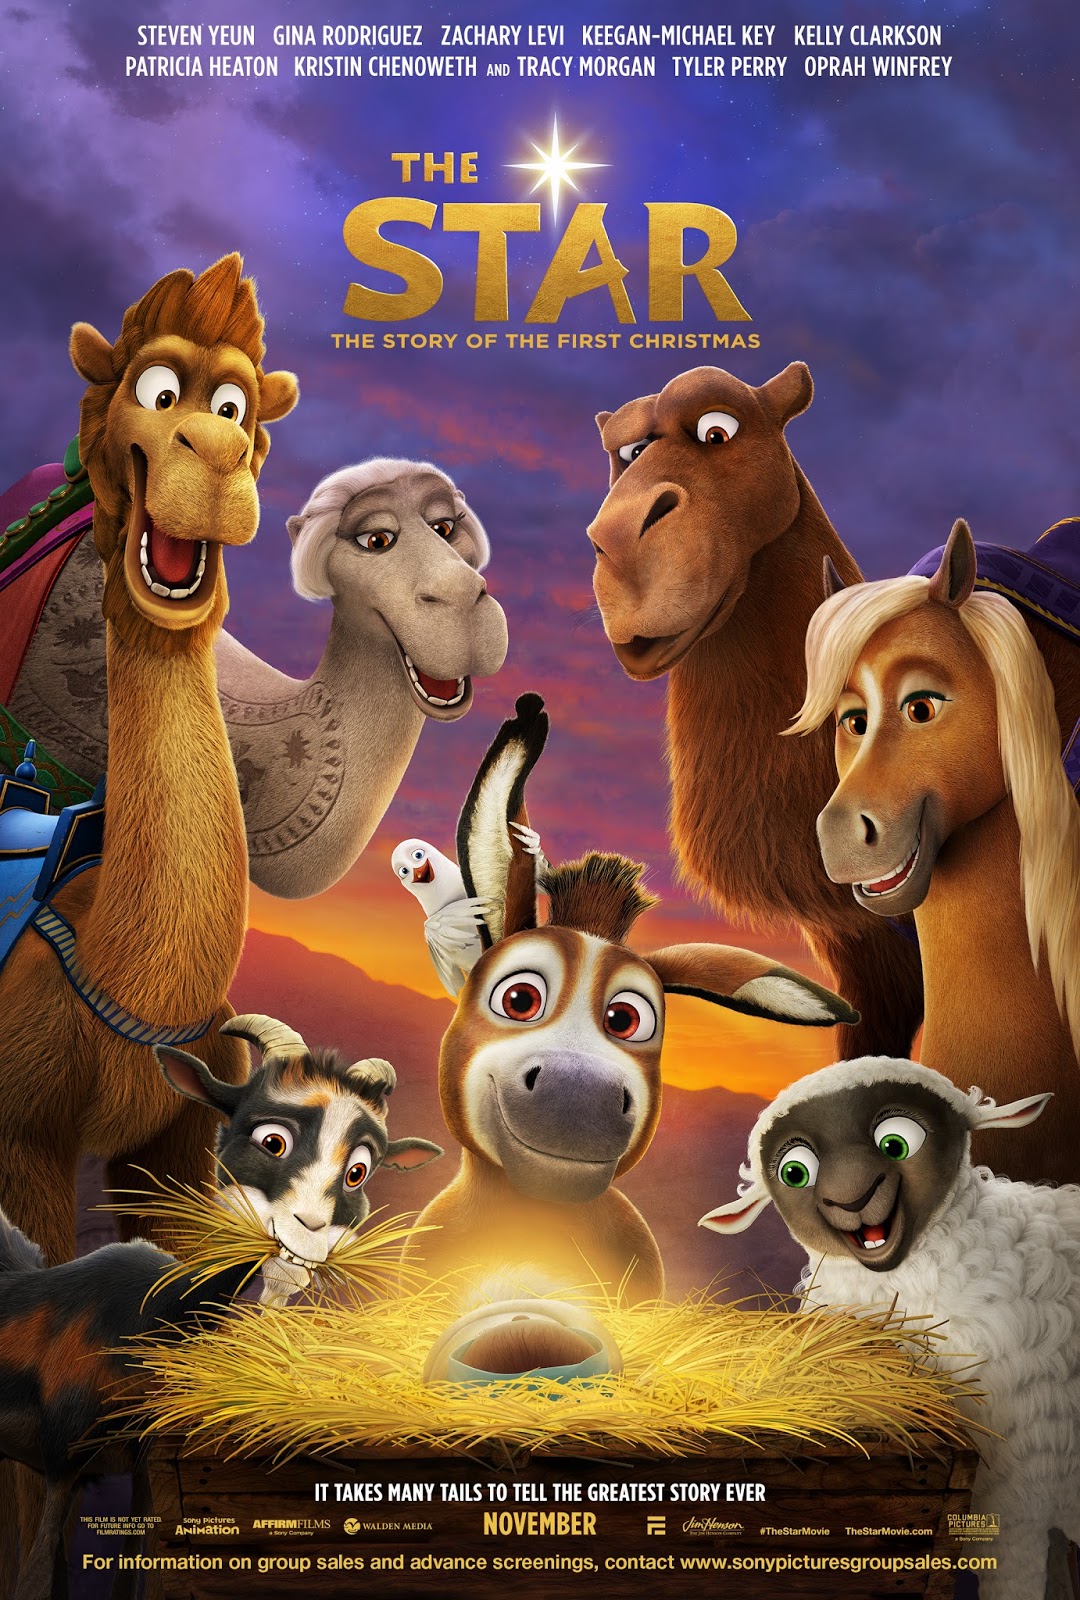
“In Sony Pictures Animation’s The Star, a small but brave donkey named Bo yearns for a life beyond his daily grind at the village mill. One day he finds the courage to break free, and finally goes on the adventure of his dreams. On his journey, he teams up with Ruth, a loveable sheep who has lost her flock and Dave, a dove with lofty aspirations. Along with three wisecracking camels and some eccentric stable animals, Bo and his new friends follow the Star and become unlikely heroes in the greatest story ever told – the first Christmas.”
Now all you will need is some:
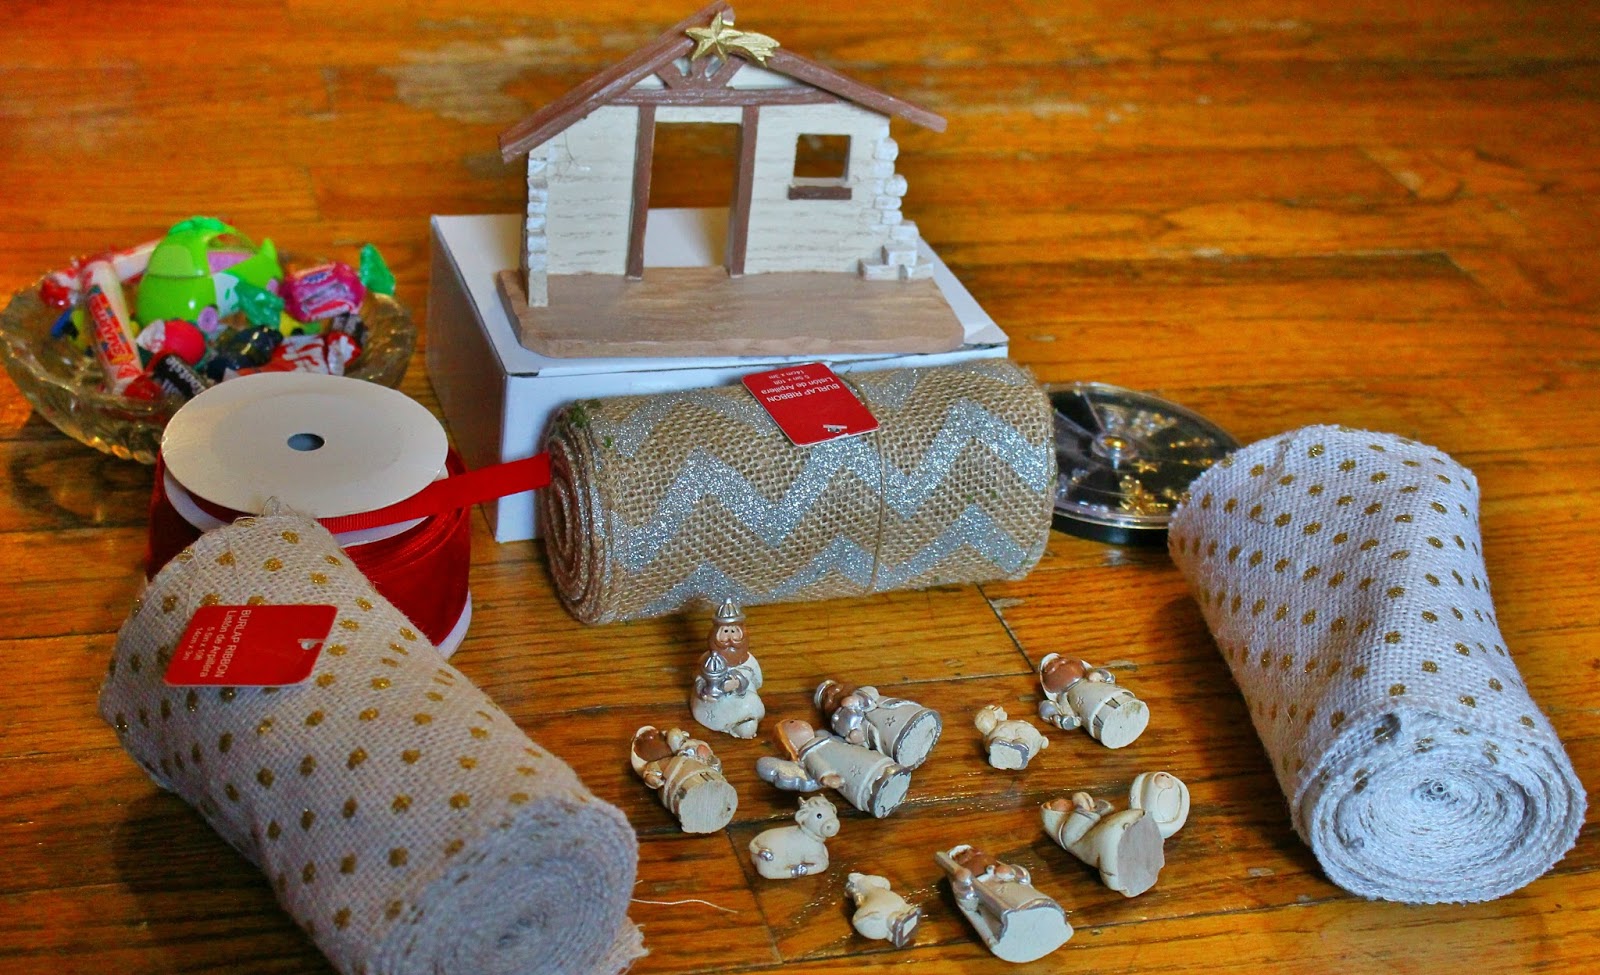
6″ Burlap ribbon, A glue gun, Wired ribbon, This nativity set, And a bunch of little trinkets and candies that will make the total number of items equal to 25. Now, this is a little time-consuming so make sure you have a little open schedule.
1) Layout your burlap ribbon to the length that you want it. You will have to cut the same length twice or three times depending on how wide you want the pocket and how long you want the calendar to be. ** I underestimated the cutting length so I ended up having to add more on the top to fit more pockets.

2) Once you’ve done that, grab your wired ribbon and cut it to the same length of the burlap ribbon. With this piece of ribbon, you will use it to connect both burlap pieces together so that it’s more like a gift wrap design.
3) After You will grab a hanger or if you want you can use a rope And you will fold the top of the calendar over it. This makes it very easy for you to hang it any place you’d like.
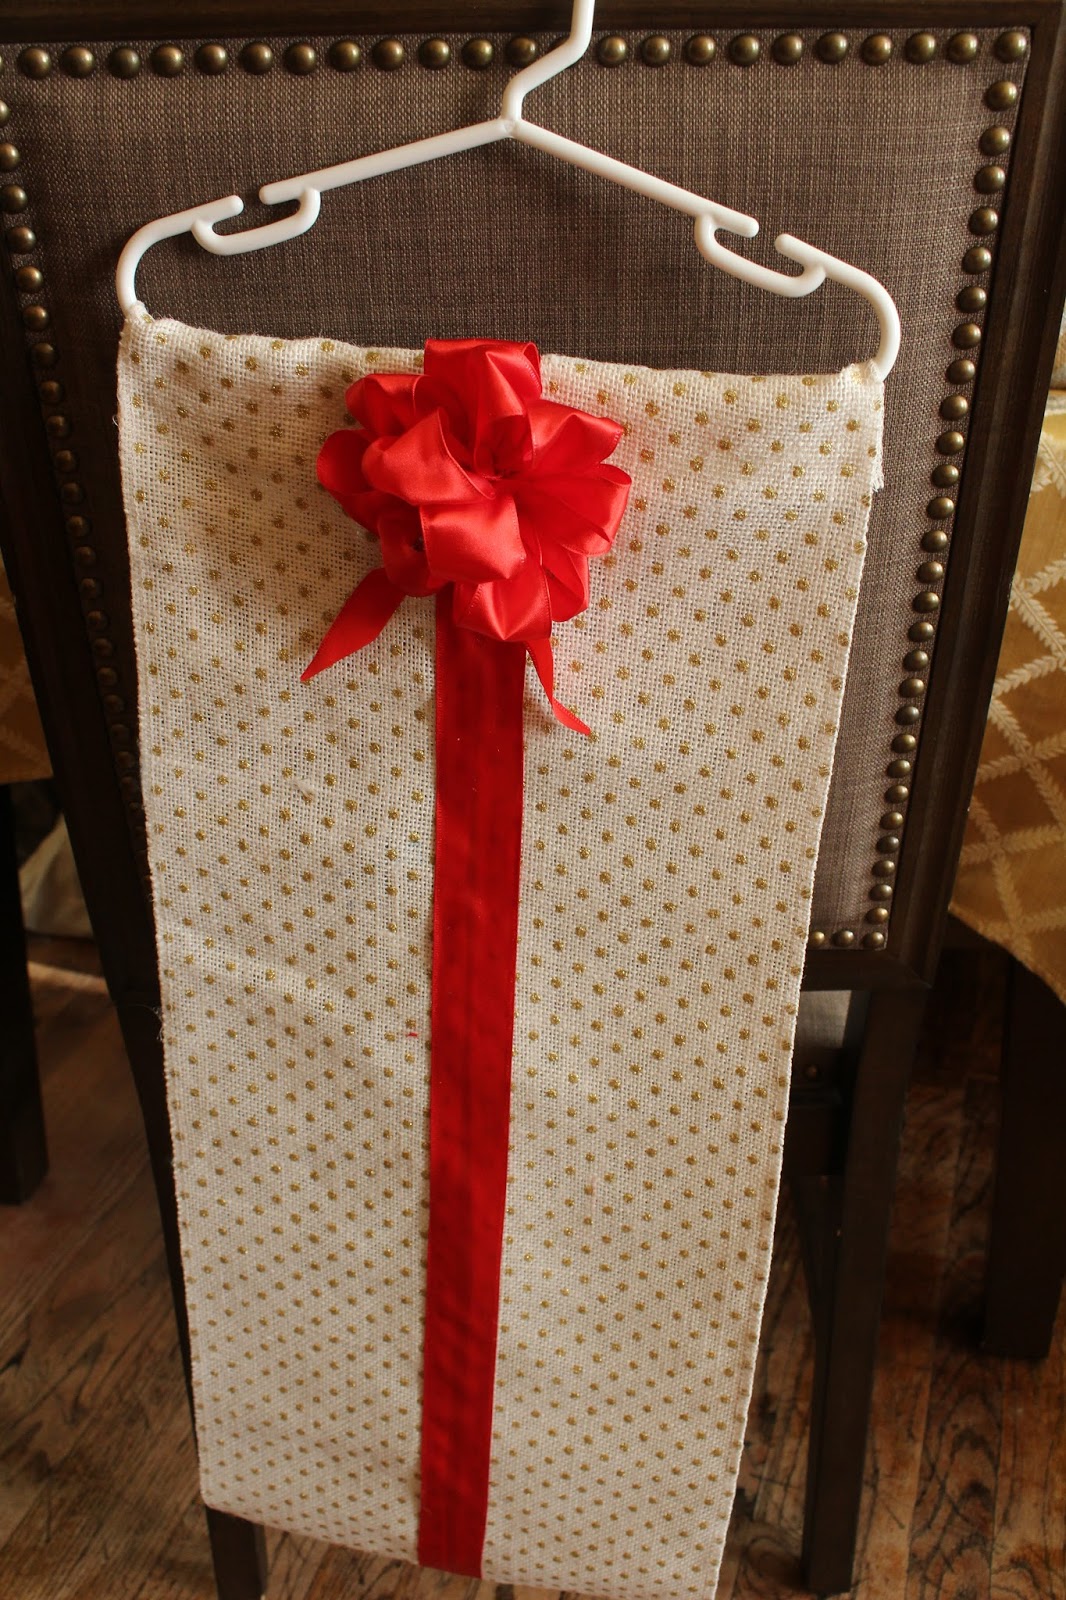
4) Grab your wired ribbon and create a bow with Six loops. Six loops will make it look really full and it’s best if you have the 1 1/2 inch ribbon to use so that you don’t have to use too much ribbon to create it.
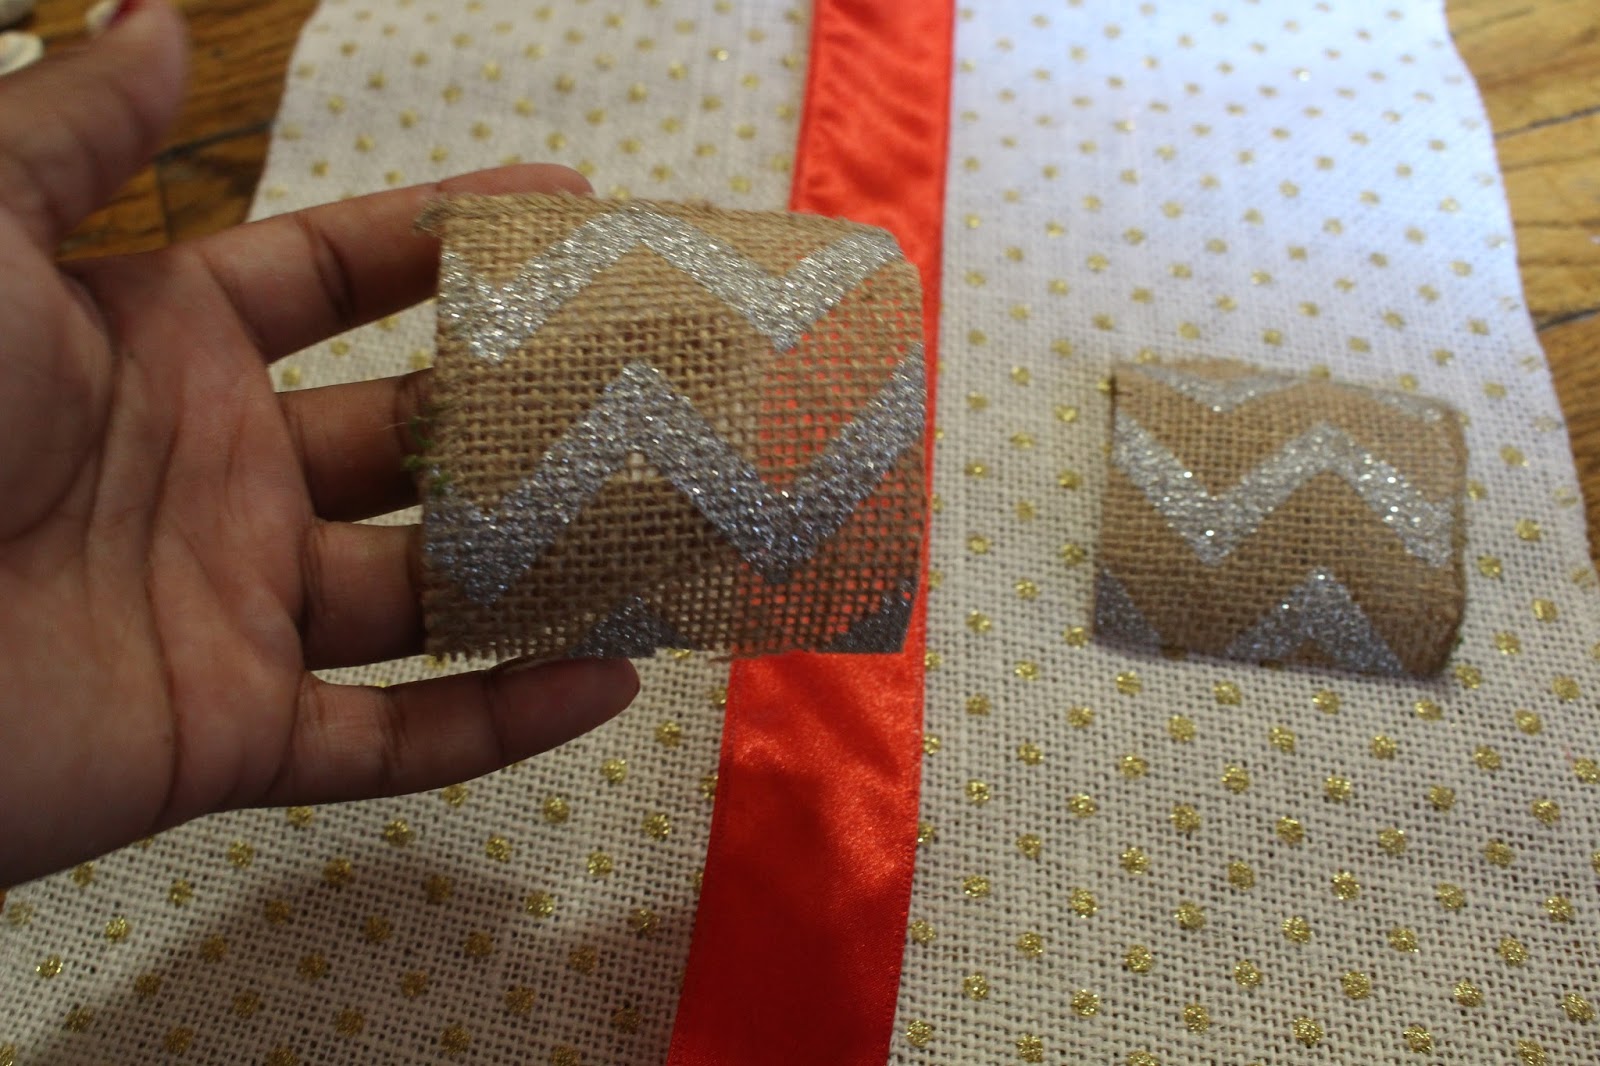
5) After placing your ribbon where you want it, You will grab the burlap ribbon and measure 3″ x 3″ For the pocket. To give it kind of a curve that makes it easier for you to take out whatever you put in, I cut a little slip at the bottom, glued each side over each other and created a hump. Repeat this process 22 more times, Then Glue on to the Calendar.
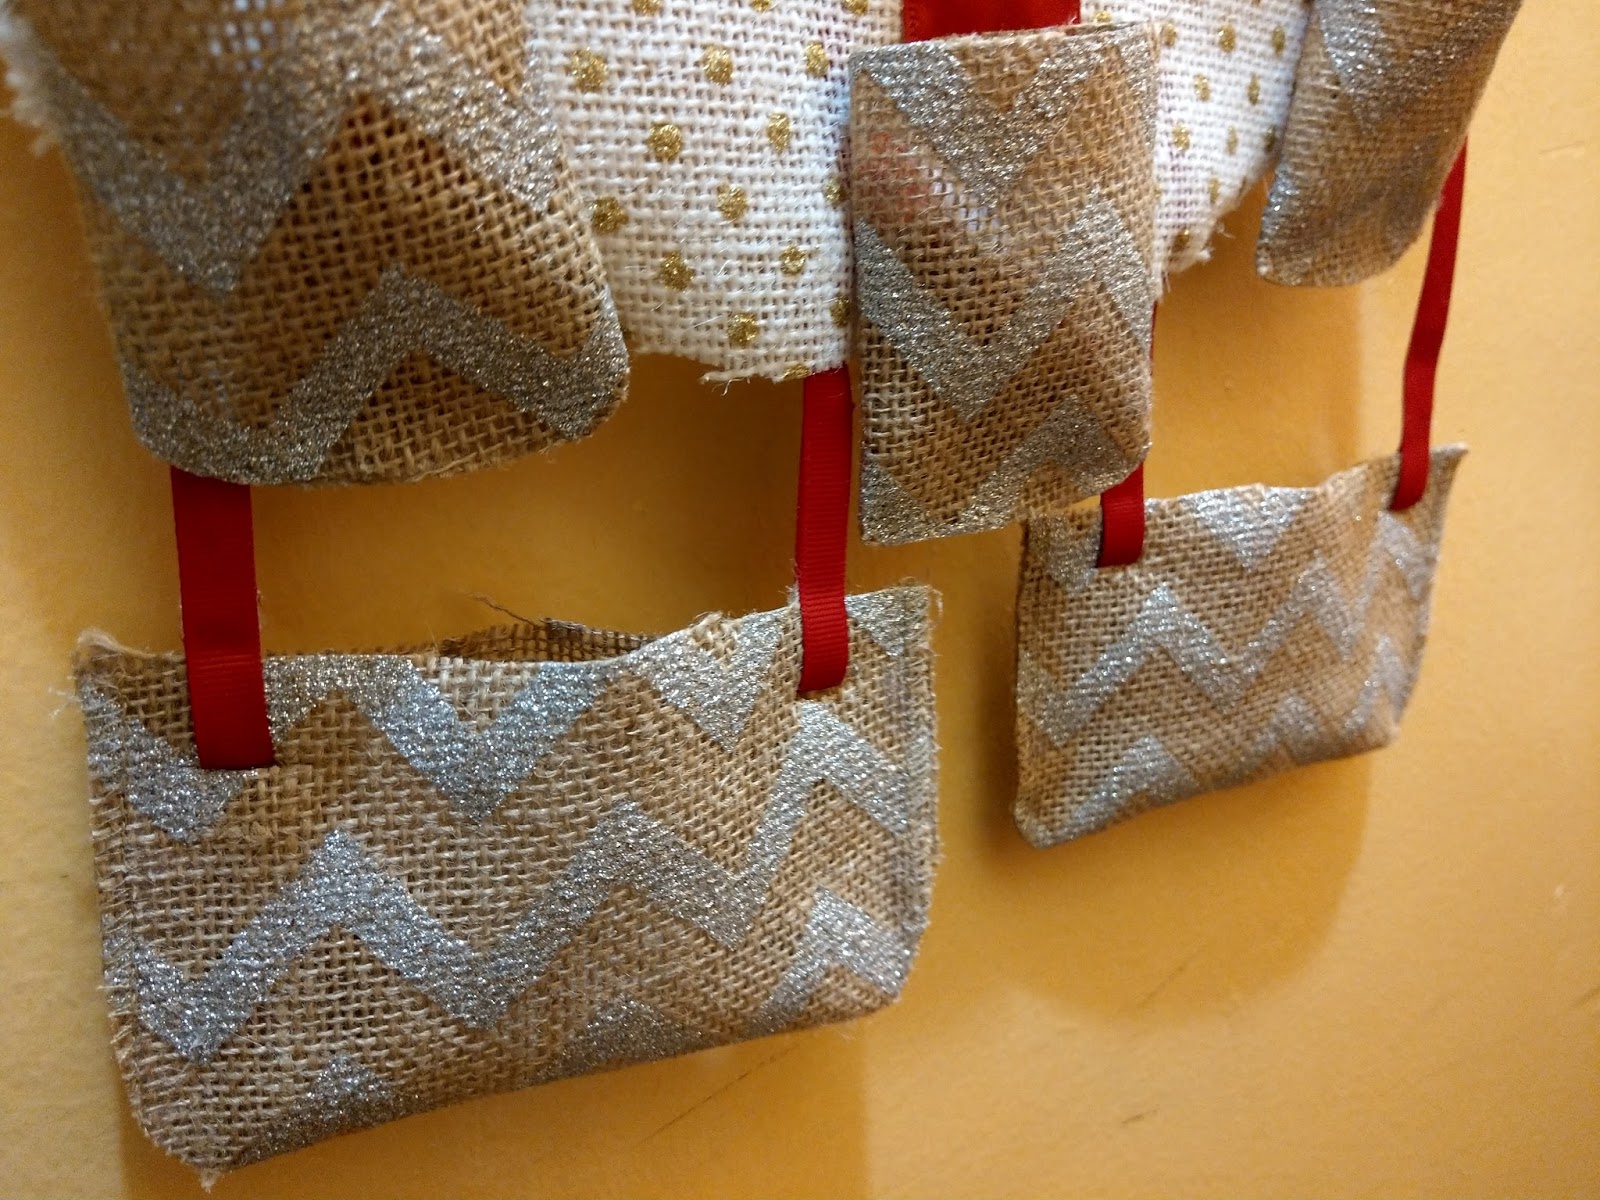
6) Now you will create Two big pockets (3″ x 4.5″). Do not worry about creating that hump on the bottom, because these two pockets will be hanging from the calendar. When your pockets are ready, cut a slit… One on each side of the pocket for you to insert regular grosgrain ribbon. Cut it long enough and evenly so that you can glue it to the back of the calendar

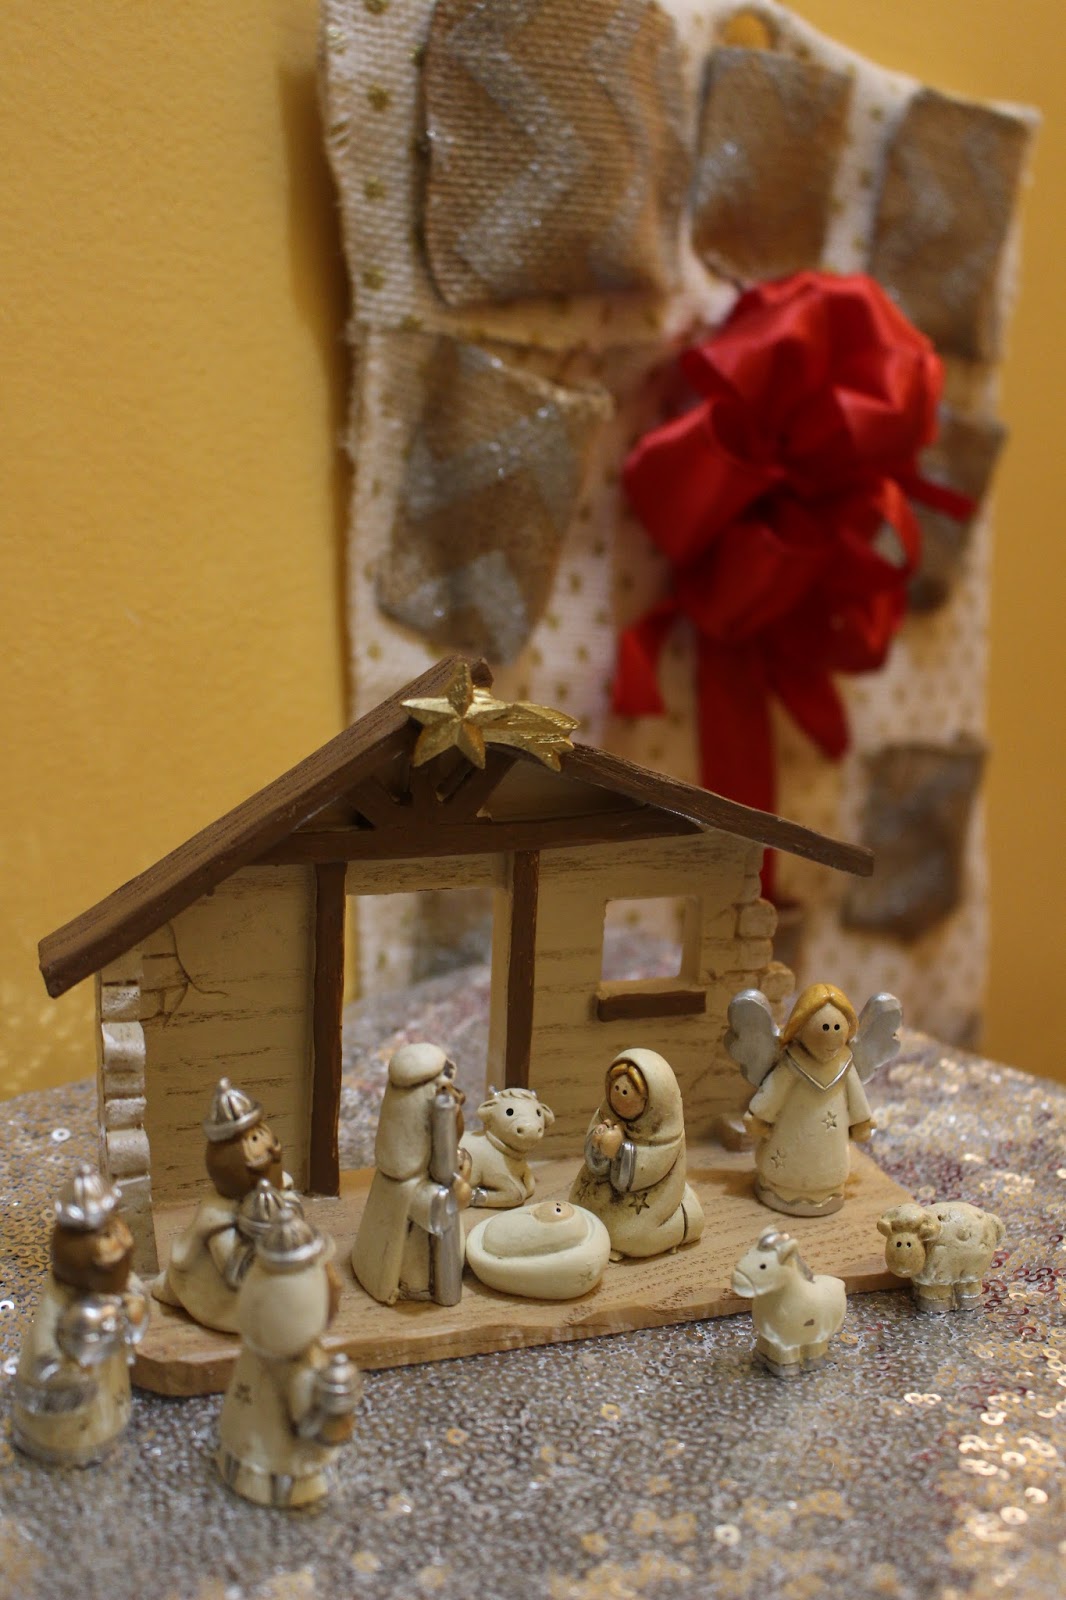
7) After all your pockets are created, Grab your nativity set, candy, and trinkets and then randomly place the little figurines in random pockets. I did place Joseph, Mary, and the baby closest to the bottom. The baby was placed in the 25th-day pocket.
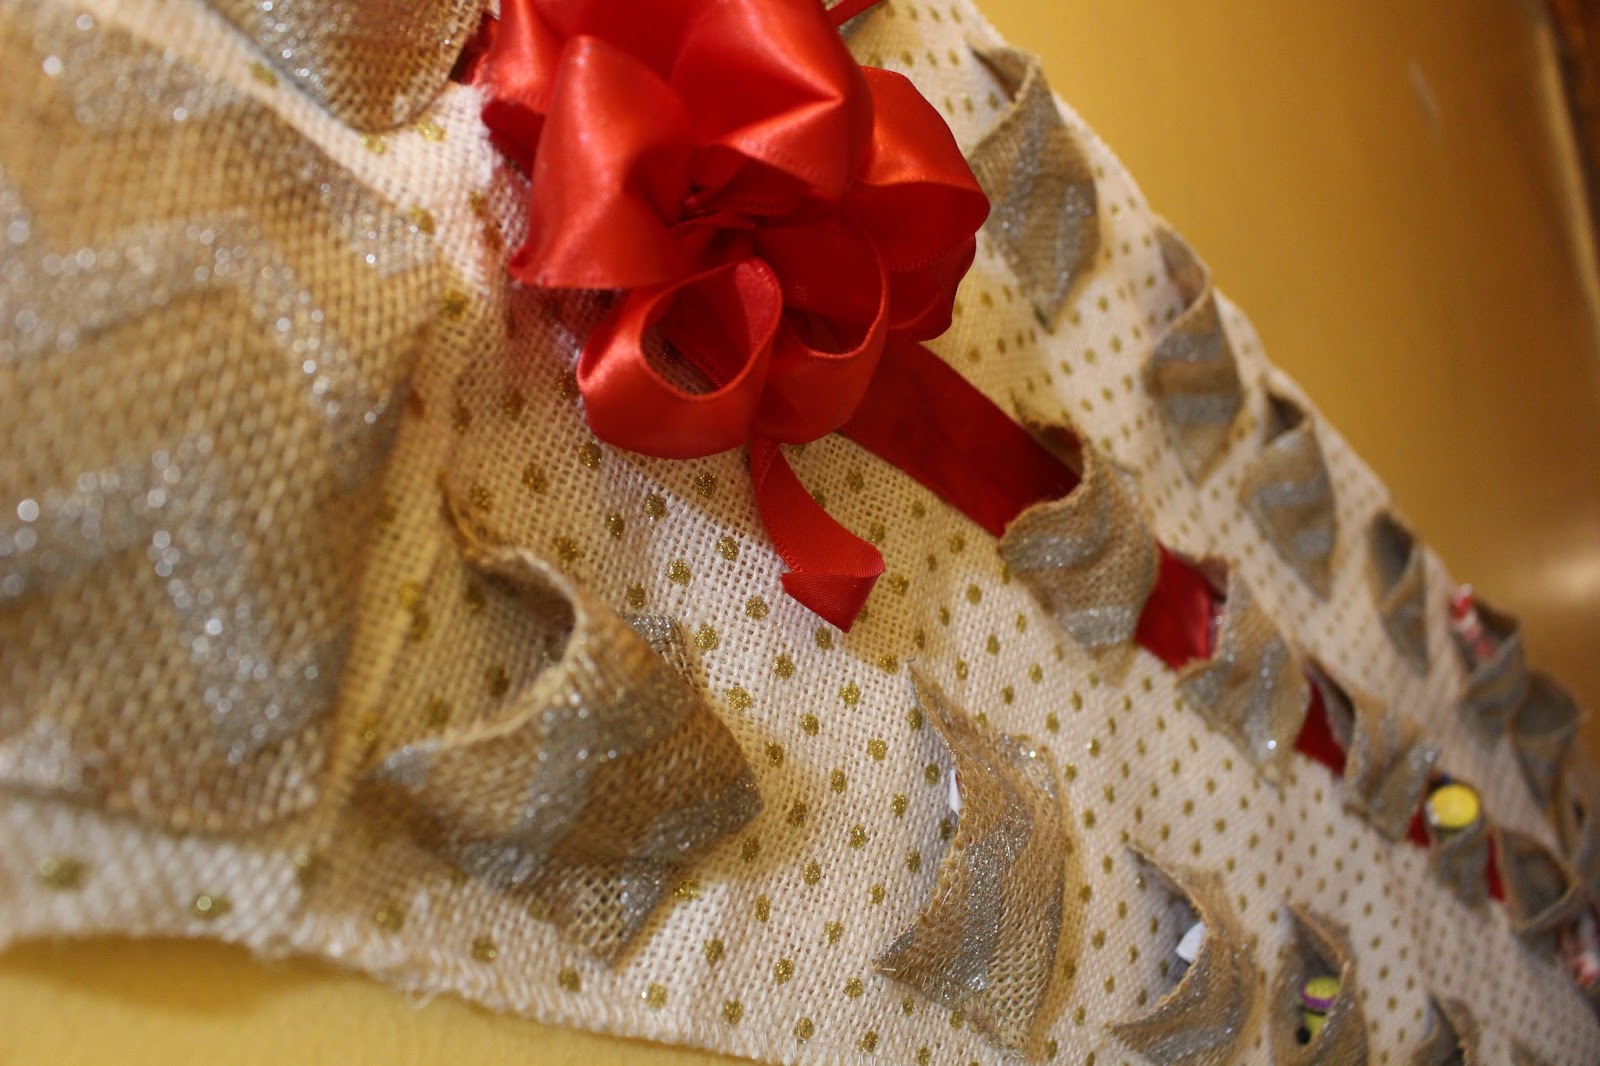
And now you’re done! Your DIY Advent calendar is complete and your kid is in love! They will be so happy to wake up each morning and see what new surprises are in The pocket. If you choose to, you can put numbers on each pocket so that you know how many days are left until the holidays. We left ours without numbers because we liked the way it looked that way, but I am considering getting some glitter glue or puffy paint to add some popping Numbers!
Let us know in the comments below..